Modular Plastic CNC
The pillar.
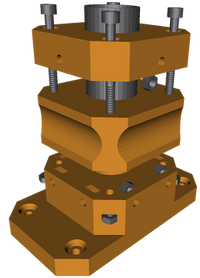
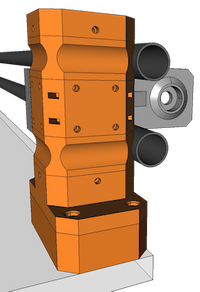
For what do I need a pillar. First of all, the pillar is not one printed part, it consists of more than one single part. This makes it possible to build different sizes and types of the pillar. But it's probably better explained with a few example pictures.
For the normal small pillar, where you only use with one pipe clamp, the following 3D printed parts are necessary.
You also need
| |
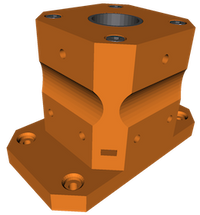
Put the nuts and bolts on the 3D printed parts as in the picture above and assemble according to the left picture. Please make sure that the internal nuts in the base and end part are on the same side before assembly. | |
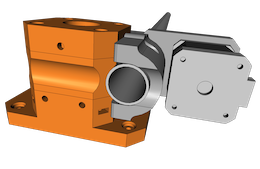
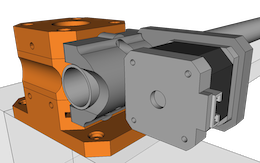
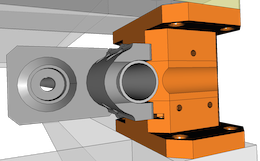
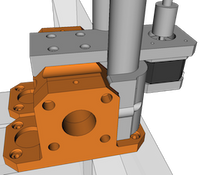
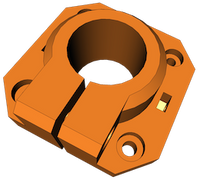
The pillar is now complete and can be used with one of the available pipe clamps. On this picture you see a pipe clamp with motor mount. |
What kind of pillars are possible?
!!! All specifications for screws and nuts are always only a minimum. I recommend filling all nut traps !!!
Little pillar This pillar is used by machines with only one tube per y-axis side. It is irrelevant whether the portal or the milling bed is moved. You can use this pillar with each available clamps. Material:
You also need:
Pillar height = 70mm | |
Support pillar This pillar can be used on machines with one pipe per y-axis side. The milling bed can also be supported with this pillar. You also can use this pillar with each available clamp. Material:
You also need:
Pillar height = 85mm | |
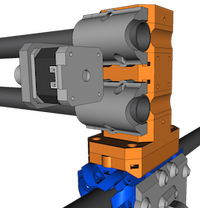
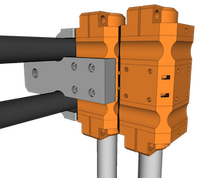
Big pillar (here on a saddle) You will use this pillar by planning a machine with a 2 pipes axis. It doesn't matter whether we're talking about the x or y axis. On the left picture you can see the pillar with a saddle on a sled of the y-axis. Two clamps and an independent motor mount part are attached on this pillar. Material:
You also need:
Pillar height = 130mm (w/o PillarSaddle) | |
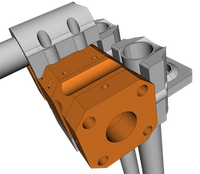
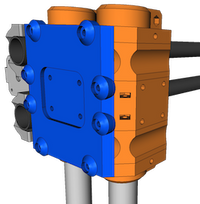
Big pillar (here on a distance plate) You will use this pillar by planning a machine with a 2 pipes axis. It doesn't matter whether we're talking about the x or y axis. On the left picture you see the pillar with a distance plate as y axis. This distance plate is only necessary if you want to get your y-axis a little bit higher. Two (more are possible) clamps and an independent motor mount or bearing mount part can attached on this pillar. Material:
You also need:
Pillar height = 155mm (with bottom dist.) | |
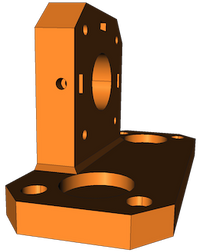
Horizontal pillar This type of pillar is used at the top of the portal. At this point, a cross pipe can be attached for horizontal reinforcement. Material:
You also need:
Pillar height = 115mm | |
Horizontal pillar with bottom part This type of pillar is used with a fixed portal. With this type of pillar, as with all other types, you can use all available pipe clamps. If you want to drive your slides over the center, you can connect a center mount motor and ball bearing mount. Material:
You also need:
Pillar height = 115mm | |
pipe end pillar ....to complete Material (for one pillar):
You also need:
Pillar height = 135mm |
What parts are available to build a pillar?
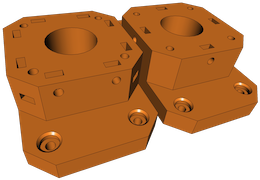
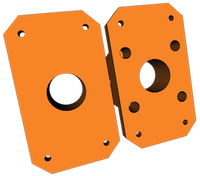
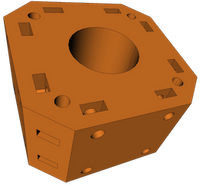
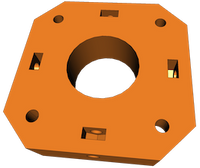
PillarBottom (type A and type B) If you build a big pillar for 2 using pipes, then you will use the PillarBottom type A (right side). The different between the two PillarBottom types are the side mounting options. The PillarBottom type A is a one mounting option per side solution for M4 screws and the PillarBottom type B have two mounting options per side for M4 screws. The screw accesses for the M4x45mm are also only at the bottom of type A. And type B accordingly has the necessary nut recesses. If you use type A and type B with one PillarDistance25mm part, you get as result the support pillar. | |
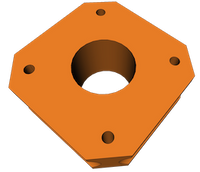
PillarDistance25mm This part has semicircular cutouts on the side to give more support to the attached pipes. | |
PillarMiddlePart35mm ...to complete | |
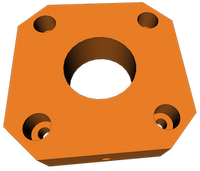
PillarEndpoint (type A) ..to complete | |
PillarEndpoint (type B) ...to complete | |
PillarEndpoint (type C) ...to complete |
